
The Junkheap
This post will be an overview of my journey keeping a piece of junk kit printer running.
Getting Started
In September of 2018, I bought my first 3D printer: an Anet A8 kit for $170. I did plenty of reading before it arrived, and I made some mods before I even finished reading the manual, mostly focused on safety:
- Power socket with fuse and switch: The Anet A8 comes with a power cable that screws directly into the power supply, making the wall outlet your only means of turning it off.
- MOSFET to control heated bed operation. I read that Anet A8s tend to burn up their control boards with the energy it takes to heat the bed. A MOSFET allows the power supply to directly power the bed, while a low-current signal from the control board enables or disables the flow.
- Drylin bearings, which result in a massive noise reduction over the rattly bearings the printer comes with.
- Borosilicate glass, which is both a bit harder to break and allegedly more flat than the included glass.
(All of those enhancement parts are still in use today.)
It took me maybe 10 hours to completely assemble, and perhaps 100 hours to calibrate to the point of walking away while it printed. At this stage, my workflow was to slice STL files (prepare them for the 3D printer to manufacture) and hand-carry them to the printer on a microSD card.
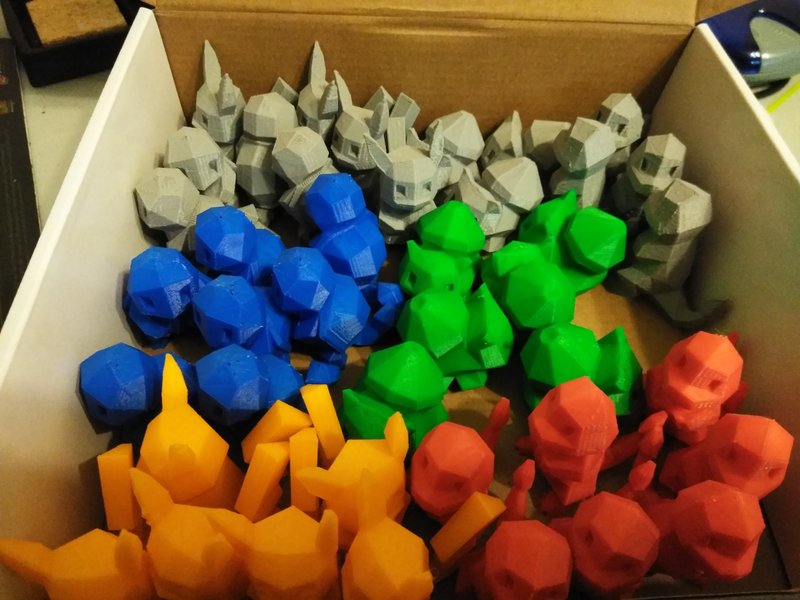
My biggest complaint with the printer was the finicky bed positioning: I could only print one or two objects before prints would fail to stick, because the bed would vibrate out of position. So I ended up spending up to 20 minutes with a piece of paper, carefully turning screws back and forth to adjust the height of the bed.
Bootstrapping an Anet
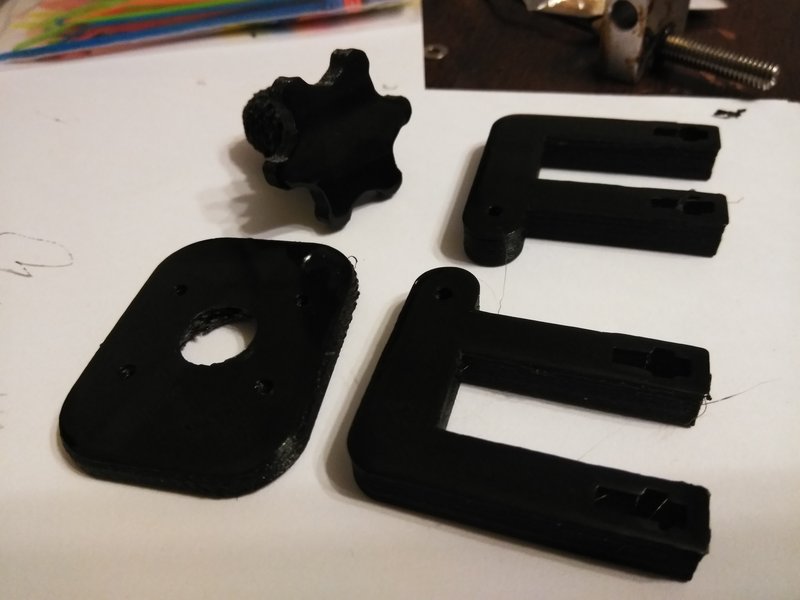
The Anet needs a lot of parts it doesn't come with - and in a sense, it's a serious bootstrapping issue to produce them with the stock Anet. Basically, it's not reliable enough to produce the parts that would make it reliable.
Belt tensioners reduce backlash, making surfaces more even and corners sharper. Reinforcing the frame makes it more rigid, and less prone to "ringing", a visual artifact that can be caused by vibration the printer's own motions induce.
BLTouch - Touch Sensor
In November, I ordered my first BLTouch sensor. This replaces the "Z" limit switch. normally, the 3D printer hits a switch at the bottom position, and it's up to the user to "tram" the bed in relation to the nozzle position. A perfectly trammed bed will be at the same distance (about 0.2mm or less) from every point on the bed.
With a touch sensor, the 3D printer is able to poke the bed in a 3x3 grid, measure how far it is from perfectly level, and then compensate in software for the positioning. The controller then moves the nozzle slightly up or down over different parts of the bed, keeping the nozzle the appropriate distance and getting that squishy, flat layer of plastic.
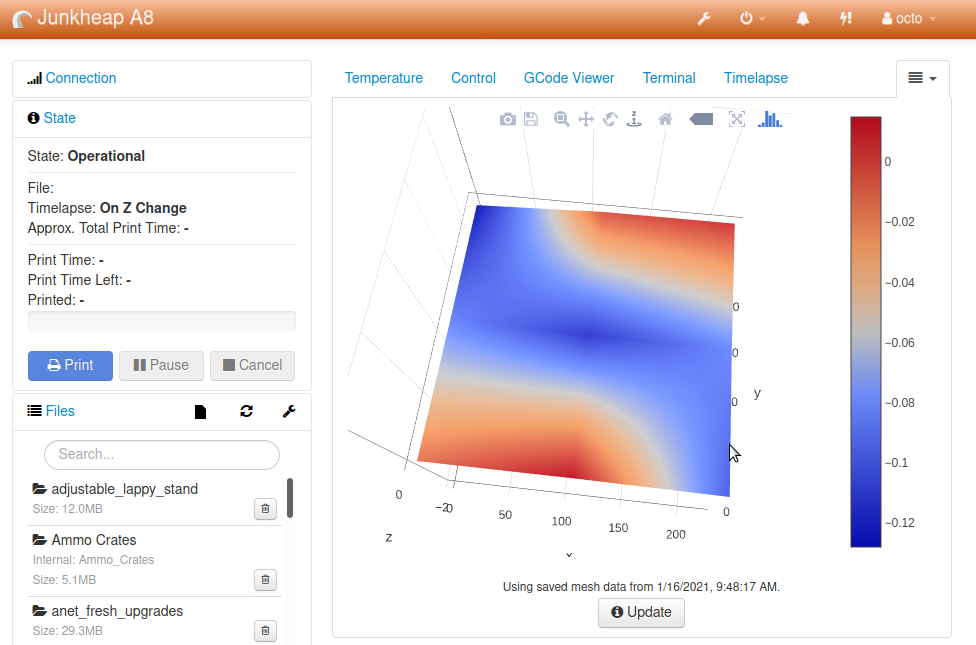
To get such fancy math to work, memory has to be allocated. The Anet controller is pretty short on spare RAM - I wasn't able to retain the SD card functionality along with the new 3x3 mesh leveling behavior. I think this has been resolved with some newer compression abilities with Marlin firmware, but I haven't fully kept up with innovations in this area.
Without SD card access anymore, I needed another way to store jobs for the printer... and get some other conveniences at the same time.
Octoprint - A "3D print server"
Few things in life aren't made better by slapping a Raspberry Pi on it. Octoprint is a computer that bridges the paltry capabilities of the microcontroller that runs the 3D printer. Wifi, webcam for timelapses and real-time monitoring, remote file uploads, and endless community innovations, like the plot you can see above for the touch sensor's output.
Now I can start a job over Wifi, even if my printer is in another room; with some minimal SSH trickery and home router configuration (or an online service if that's too arcane), your printer can be controlled from anywhere on the internet.
As 2019 rolled along, I routinely started jobs before leaving for work, monitoring them from the office and canceling them if they looked like they weren't going well.
Time goes on - cable chains, etc
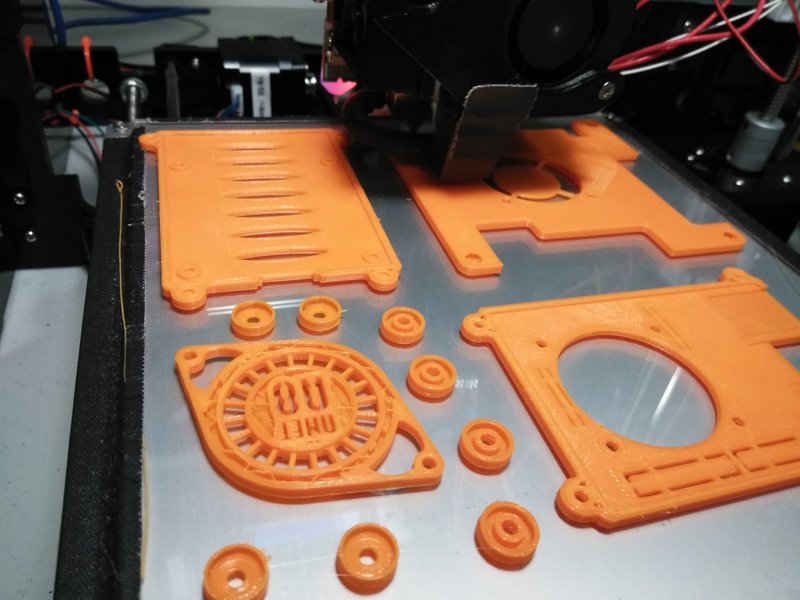
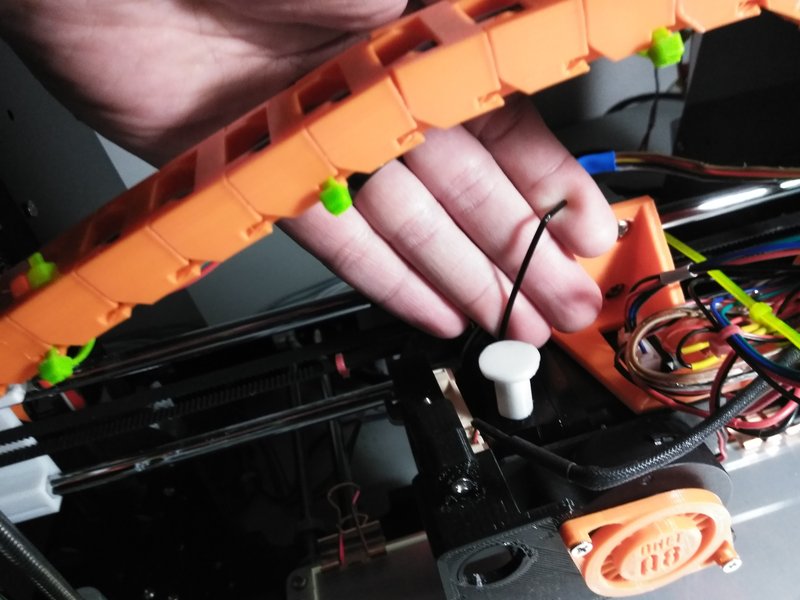
Junkheap went through a phase where I 3D printed all orange hardware, including cable chains, to organize it. I found the cable chains significantly limited my build space. I know I could have probably engineered the problem out, but instead I just removed them and went back to cable wraps.
Why'd I even write this?
In mid-January 2021, nearly 2 1/2 years after buying my Anet, it needed a bit of a tune-up. I swapped the nozzle and thermistor, and added a bit of thermal paste; while dismantling the extruder assembly I broke the printed fan mount that had been in place for most of my time owning the printer. Before it became a 3D Printer of Theseus, I wanted to document my journey a bit. Going through the picture backups was a great trip down memory lane, but also a bit of a letdown - I've done a poor job documenting my work.
Also, the Junkheap still looks like exactly what its name implies. Despite looking like literal junk, I love the heck out of this unit and wanted to put into words + bytes how much I've enjoyed learning on this cheap bucket of bolts.
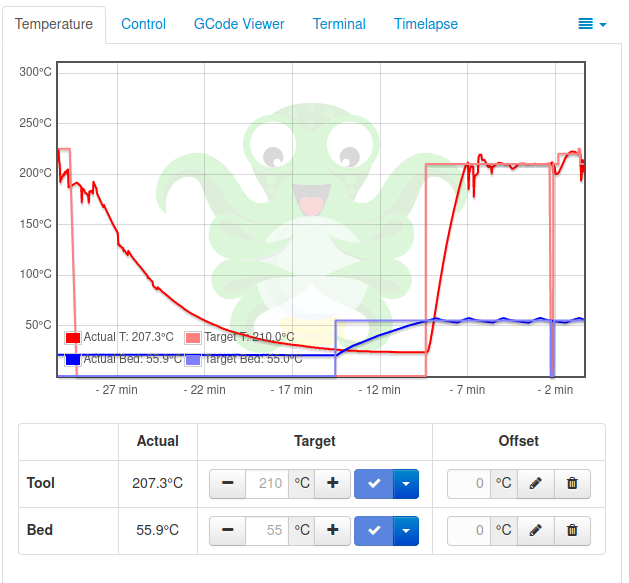
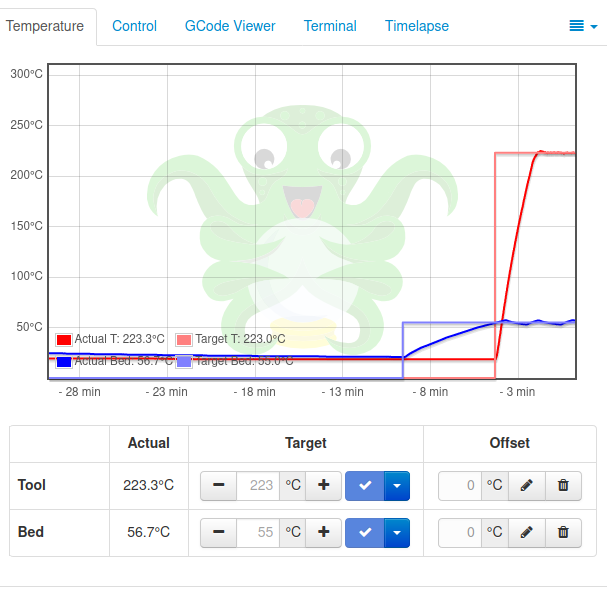
Adding the thermal paste took the temperature history from this:
To this:
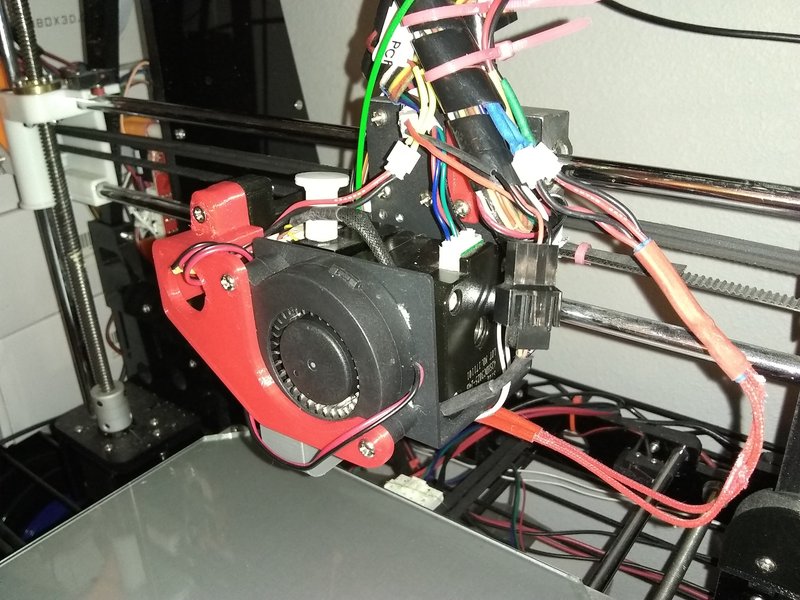
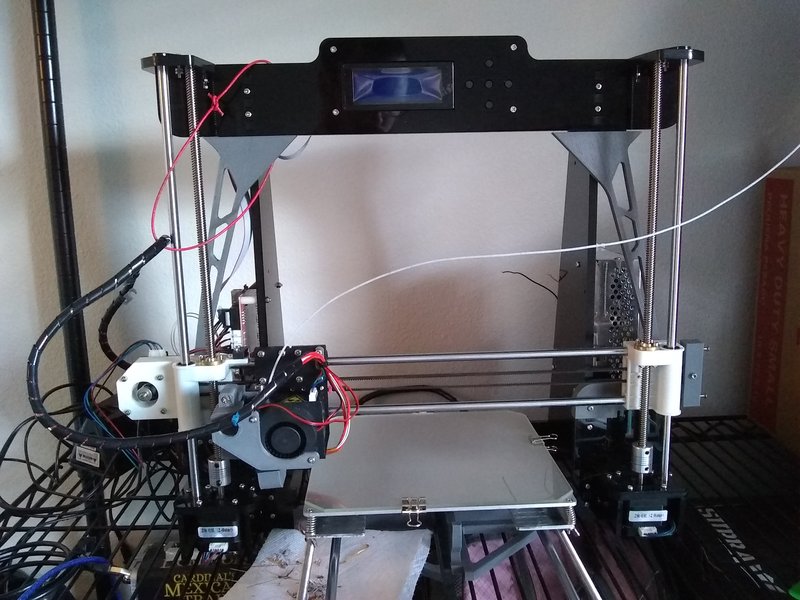
Here's the current state of the machine in all its crappy glory:
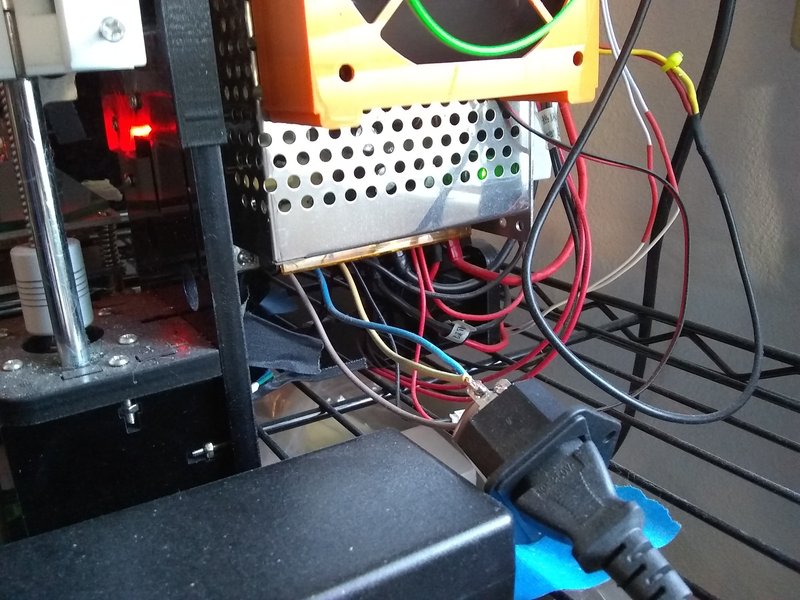
My current biggest shame with the Junkheap is this functional but terrifying power cable setup:
An Offspring?!
In July of 2020, I built a brand new Anet A8, but constructed ti straight out of the box with many of the upgrades I only ended up with after over a year of tinkering with the original. Printing all of the parts in one go out of a single color gives the "Son of Junkheap" a much less hacked-together appearance.
There have been some innovations with compiling Marlin firmware, which gives better compression. For the time being, the new Anet doesn't have a BLTouch, but I think I might be able to add one and preserve SD card functionality.
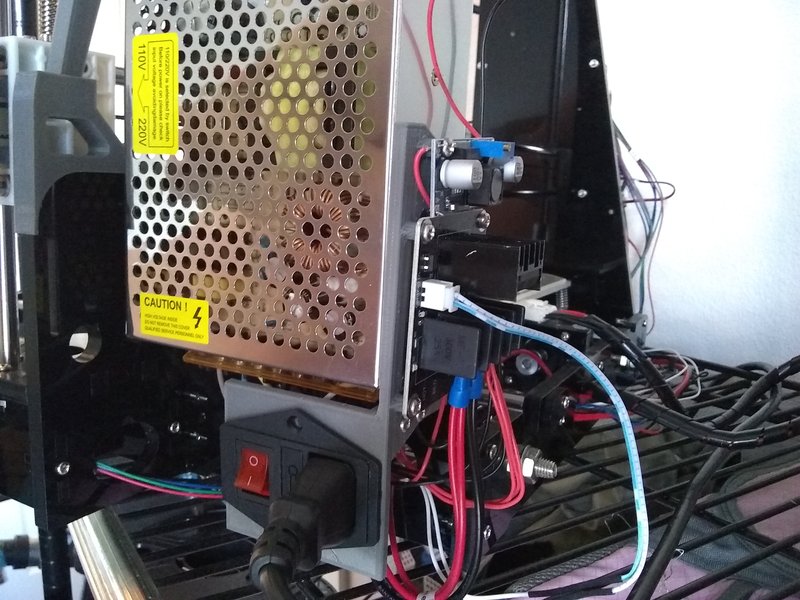
I designed a frame to hold the power switch connector, 12V to 5V voltage adapter (for an eventual RasPi), and MOSFET compactly to the frame on a single part. I think it could use another refinement revision or two, but it gives the unit a much more organized appearance.
Licensing and Going Forward
I'm interested in turning my mastery of the Anet A8 into a product - either a "booster kit" that brings an Anet A8 up to my standards, or complete, constructed printers. However, a lot of the upgrades are not compatibly licensed for resale, like Leo_N's Hulk Frame. So, to sell a kit myself, I'll have to recreate the parts that are free for individuals to use.
Beyond that, I'd love to get my hands on a CNC mill so I can make parts out of plywood, then I might even be able to cut the Anet A8 out of the process entirely, and instead just opt for bulk orders of stepper motors and RAMPS boards. There's a lot of problems with doing this that I haven't solved or even imagined yet, but I'll get there.